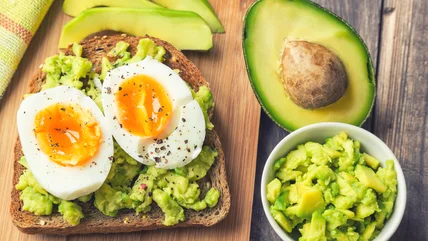
What Is Seitan And How Is It Different From Tempeh?
There's a suitable plant-based protein out there for everyone; see how seitan and tempeh differ in terms of their texture, flavor, and nutrition.
Read MoreThere's a suitable plant-based protein out there for everyone; see how seitan and tempeh differ in terms of their texture, flavor, and nutrition.
Read MoreWe dish about London's Pick & Cheese, a rotating cheese bar at Seven Dials Market, where artisanal cheeses take center stage on a conveyor belt feast.
Read MoreTrader Joe's recalls Infinite Herbs Organic Basil due to potential salmonella contamination. Check for affected products and contact for refunds.
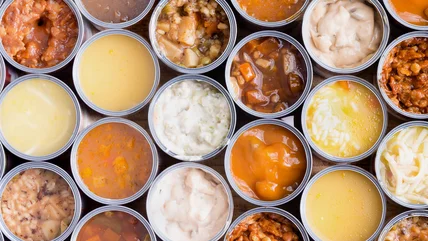
Read MoreUncover the surprising sodium content lurking in your favorite canned soups and how it impacts your health. Is it time to rethink your go-to comfort food?
Read MoreExplore the unconventional twist on the classic baked potato with a hearty topping -- a mayo-rich tuna salad. It's. become quite the British favorite.
Read MoreLearn the secrets to preserving your leftover buttermilk: from freezing tips to homemade alternatives, ensuring every drop lasts deliciously.
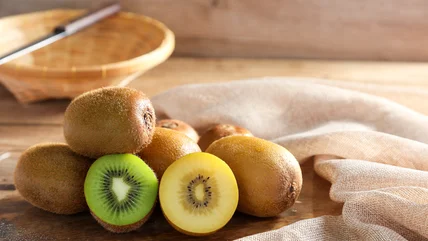
Read MoreJoin in the divisive kiwi debates: to peel or not to peel? Kiwi skins offer nutrients, but some find the fuzz unappetizing. Here's the scoop.
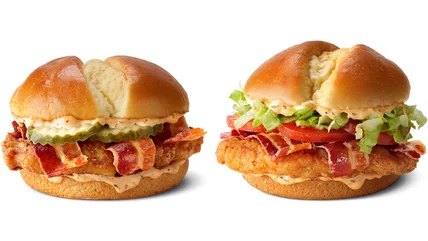
Read MoreMcDonald's introduces the Bacon Cajun Ranch McCrispy, a tantalizing twist on its iconic chicken sandwich lineup. Available soon at participating locations!
Read MoreBanish stubborn stains from your cookie sheets with a powerful duo: baking soda and hydrogen peroxide. Discover the chemistry behind their cleaning magic!
Read MoreGrocery stores repurpose produce for its salad bars, but should you be concerned? We dig into some of the safety standards surrounding of this practice.
Read MoreThe secret to effortless guacamole prep is to use a metal cooling rack to pre-mash ripe avocados. Less time getting ready, more time for fiesta!
Read MoreFind out the fascinating history and local pride behind Australia's beloved XXXX beer, from its origins in Castlemaine to its iconic marketing campaigns.
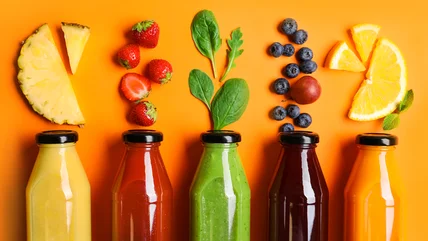
Read MoreTrader Joe's smoothies offer a sip of the unexpected. We dig into the hidden link between some of TJ's blends and a major PepsiCo juice brand.
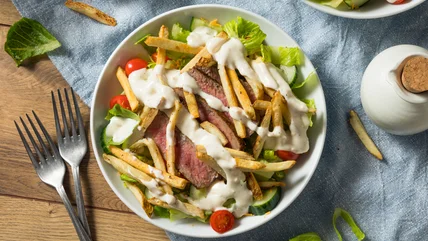
Read MoreDare to dig into the unconventional yet scrumptious Pittsburgh salad, where crispy french fries defy salad norms, creating a savory, carb-loaded delight.
Read MoreStep into the whimsical world of AU and NZ birthdays with fairy bread - a buttery, sprinkle-covered delight that's sweet, crunchy, and oh-so-nostalgic!
Read MoreWe go diving into the colorful history of pink lemonade. From its circus origins to creative modern twists, learn the secrets behind this iconic drink.
Read MoreTap into the secret for perfect, crispy fried chicken at home! Learn about why drying the meat thoroughly is crucial for success in breading.
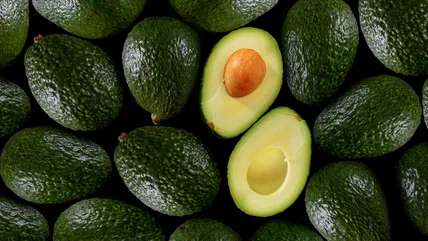
Read MoreTired of getting bum avocados? See the secrets to getting perfect ones. From AI-powered scanners to low-tech tricks, master the art of selection.
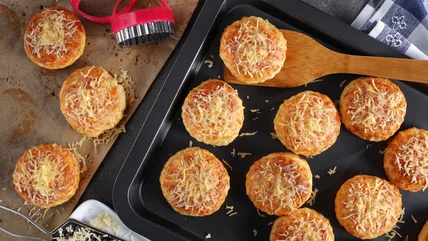
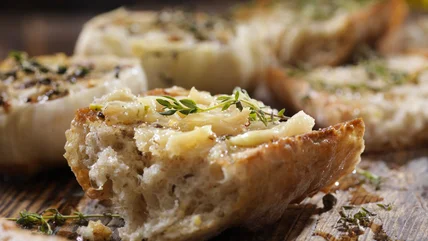
Read MoreTransform your garlic bread game with the air fryer! Crispy, golden, buttery slices in under 10 minutes – perfect for quick fixes and large batches.
Read MoreWe unweave the mystery of wine glass clinking etiquette: From medieval traditions to modern customs, understand when and how to clink with confidence.
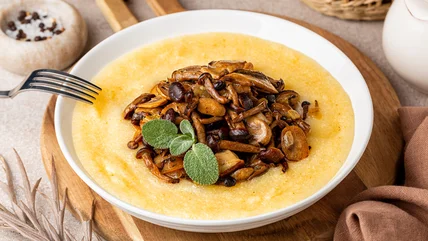
Read MoreMaster the art of making creamy, dreamy polenta with this dead simple trick. Say goodbye to lumps and hello to smooth, flavorful, corny perfection!
Read MoreEating in an Italian restaurant can be a fully immersive experience. However, you may not know how to navigate the menu if you don't know these 25 words.
Read MoreYakitori is a traditional Japanese skewered and grilled chicken dish. We spoke to expert yakitori chef Hugo Valdez to get the low down on this delicious snack.
Read MoreChunky Plates are the stylish evolution of dinnerware, perfect for saucy dishes, snacks, and desserts. Discover their versatility and chic design!
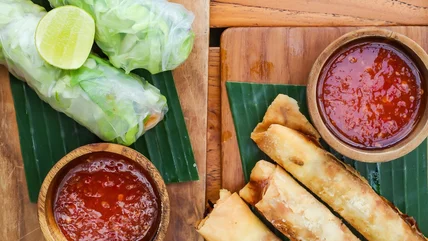
Read MoreEgg rolls vs. spring rolls: Know the wrapping secret! We unwrap the differences between these crunchy delights and their versatile stuffing options.
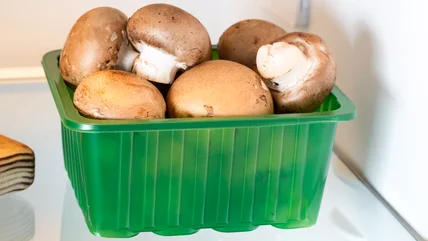
Read MoreTap into the secrets to prolonging mushroom freshness! See the optimal cold storage techniques to keep your fungi flavorful, crisp, and meal-ready.
Read MoreZoom cashiers: The new trend in takeout? New York City restaurants experiment with remote workers to cut costs. Will customers adapt or rebel?
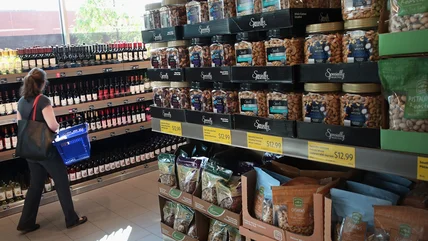
Read MoreDiscover how Aldi keeps grocery prices low by avoiding buying from popular brand names, relying instead on private labels and other cost-cutting strategies.
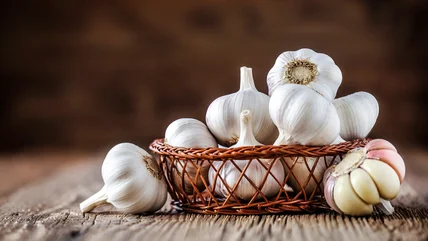
Read MoreYou can find jarred garlic stored just about everywhere, but avoid the fridge to keep your cloves fresh. It'll stay potent for months without it!
Read MoreConsumer Reports has revealed there are concerning levels of lead and other harmful chemicals found in Lunchables and other popular snack kits.
Read More